The subscription box industry has exploded in recent years, with a projected global market size of $65 billion by 2027. And with the ongoing shift toward online shopping and the convenience of recurring deliveries, selling subscription boxes is one of the lucrative eCommerce business models.
If you’re looking to start your own subscription business, Shopify is a great platform to get started. And, in this article, we’ll guide you through every step to start a successful Shopify subscription box business.
So if you’re ready to take the leap and let’s start with knowing Shopify as a subscription eCommerce platform.
Why Choose Shopify for Subscription Business?
Shopify is one of the best eCommerce platforms that offer a range of features to start and manage an online store. However, it doesn’t come with built-in subscription management features, but it does support popular subscription management tools that enable you to create and manage subscriptions.
These tools integrate with Shopify to provide a seamless experience for you and your customers. So, by using these tools, you can easily automate the renewal process, handle billing, and manage inventory without any hassle.
Since subscription management is covered by 3rd-party apps, here are a few reasons why you should consider using Shopify for your subscription business –
- User-friendly interface: Shopify’s platform is designed to be user-friendly and intuitive, making it easy for anyone to set up and manage an online store, including a subscription business.
- Payment processing: Shopify provides a secure and reliable payment processing system that supports a variety of payment gateways, making it easy to accept payments from customers all over the world.
- Marketing tools: Shopify provides a range of marketing tools to help you promote your subscription business, including email marketing, social media integration, and SEO optimization.
- App integrations: Shopify has its own app marketplace, where you can find a range of free and paid apps that enables you to connect your store with other essential eCommerce tools with just a few clicks.
- Scalability: As your subscription business grows, Shopify can scale with you. The platform offers a range of pricing plans that provide different features and capabilities, making it easy to upgrade as your business expands.
Overall, Shopify has everything you need to set up an online store, and with direct integration with subscription management platforms, it makes it easier than major subscription eCommerce platforms to sell subscriptions on Shopify.
7 Steps to Sell Subscriptions on Shopify
In this section, we will walk you through each step of setting up a subscription box business on Shopify. We will also share best practices and actionable tips to help you avoid common mistakes and build a successful business.
Ready? Let’s get started.
Step 1: Determine Your Product Niche
The first step of starting a Shopify subscription business is to choose the products you want to sell. It could be anything from beauty products, clothing, meal kits, or medicines, the only condition is to ensure that people are willing to pay for its subscriptions.
To find the right product niche, you can follow these steps –
- Identify your target audience: The first step is to identify the ideal customers for your subscription box business. This includes factors such as age, gender, interests, location, and other demographic information. Understanding your target audience will help you to identify product categories and niche areas for which they will be willing to pay for subscriptions.
- Consider your expertise & interests: Consider your own knowledge and expertise when selecting a product niche. You may have experience in a particular industry or hobby that can be leveraged to create a unique and appealing subscription box offering.
- Evaluate market demand: Next, conduct market research to analyze the market demand for the product niche you are considering. Look for trends and emerging product categories that may be of interest to your target market. Also, analyze your competitors to figure out how you can stand out in the market.
- Determine product sourcing: Once you have decided on the products, you have to figure out how you will source the products for your subscription box. This may involve working directly with manufacturers or distributors or sourcing products from dropshipping suppliers.
Once you have picked the products for your subscription plans, you can decide how you want to sell them, which we are going to discuss in the next step.
Step 2: Decide on Your Subscription Model
Next, you need to decide what kind of subscription business you want to build.
There are several types of subscription business models that you can consider and choose the suitable one based on your target audience and the products you want to sell.
Here are the 3 most common subscription business models –
Replenishment Subscription Model
In this model, customers get regular shipments of products like groceries, pet food, medicines, or cosmetics. This model is particularly useful for businesses that offer consumable products that customers need on a regular basis.
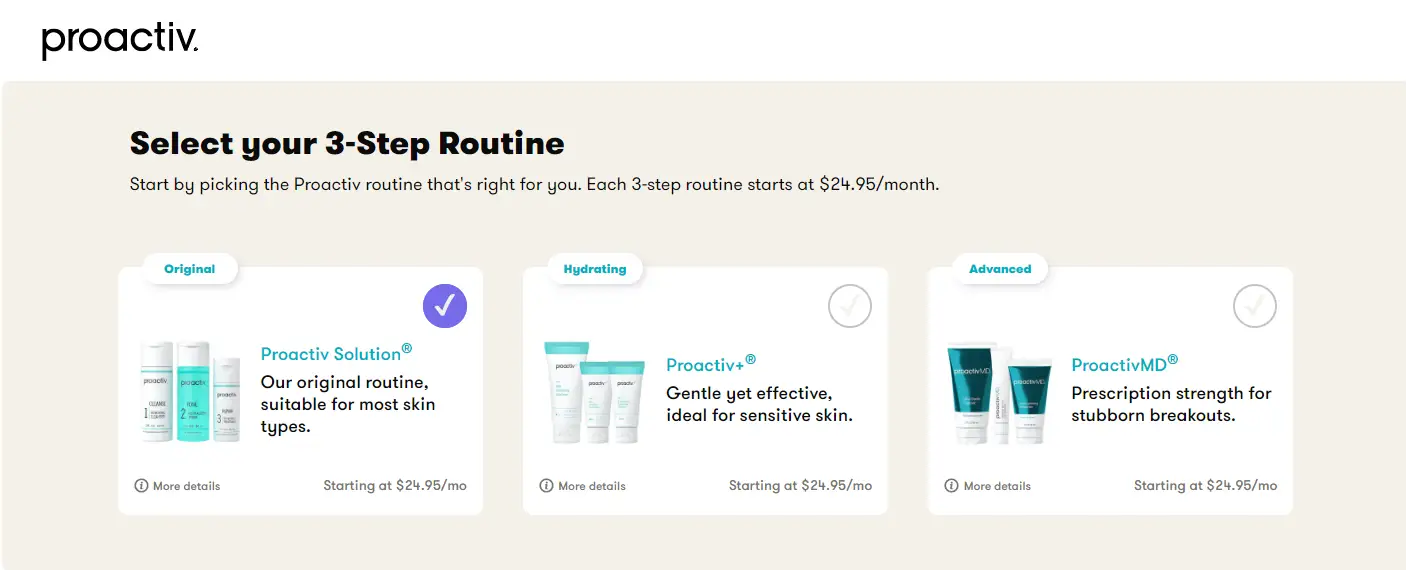
Example: Proactiv, a skincare company offers a subscription service for its acne treatment products, which customers can receive on a regular basis. Customers can choose from different subscription plans based on their individual skincare needs, and the products are shipped directly to their doorstep.
Curation Subscription Model
This model provides customers with a customized selection of unique products based on their preferences and interests. This subscription model is often used by businesses that offer niche or specialty products, such as beauty products, baby clothes, books, etc.
Example: Blue Apron is a meal kit delivery service that curates a selection of recipes and sends the necessary ingredients to subscribers each week. Subscribers can choose from a variety of meal plans, including vegetarian and family-friendly options.

Access Subscription Model
This is a popular subscription model used by eCommerce businesses to provide customers with access to a range of exclusive benefits, such as free shipping, members-only discounts and deals, early access to new products, and more.
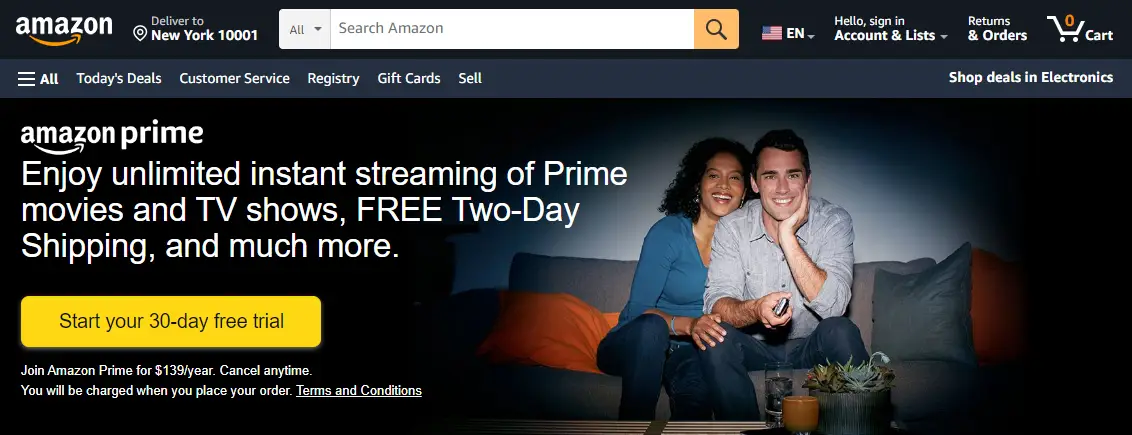
Example: Amazon offers Prime membership that provides customers with exclusive benefits such as free 2-day shipping on eligible items, streaming of movies, TV shows, and music, early access to lightning deals, and more. These benefits are only available to customers who have subscribed to Amazon Prime and are not accessible to non-subscribers.
While deciding on the right subscription model for your Shopify store, remember that the key to a successful subscription box business is choosing a model that aligns with your customer’s needs and interests. So, make sure you have done your research to back your decision.
Step 3: Create your Shopify Store
Next, you’ll need to set up your store on Shopify. If you already have a Shopify store, you can skip this step.
If you are starting a fresh new store, you can refer to our Shopify tutorial or follow these steps to create your Shopify store.
- Buy a domain: Although you can purchase a domain from Shopify, you can get domains at a cheaper cost from domain registrar websites like Namecheap or GoDaddy. Choose a domain that matches your store name.
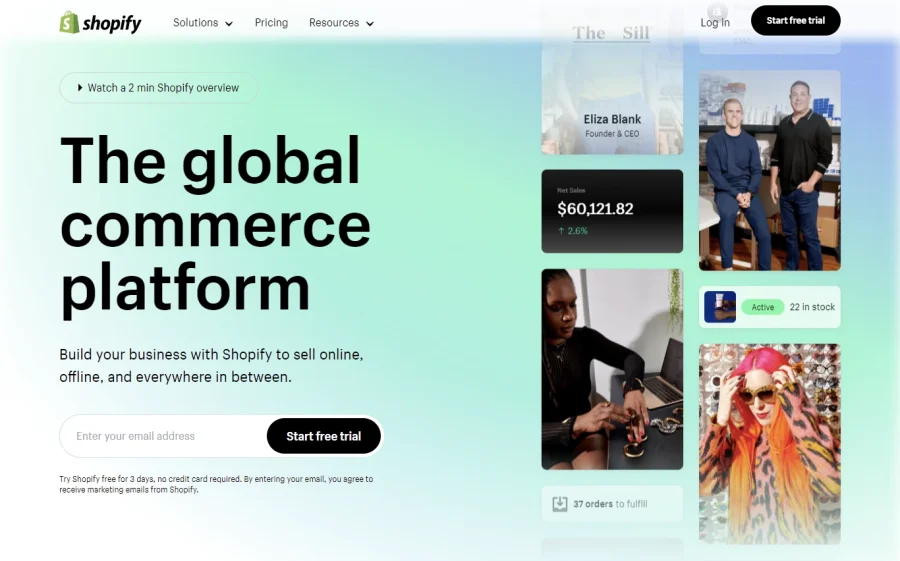
- Create your Shopify account: Go to the Shopify website , enter your email address and click on the “Start Free Trial” button. Fill out the required information, including your store name, and password. Once you’ve signed up, you’ll be taken to your Shopify dashboard from where you can set up and manage your store.
- Add products: You can add products to your store by clicking on the “Products” tab in your dashboard and selecting “Add product.” Here, you can add product images, descriptions, prices, and other details.
- Set up payment methods: Shopify subscription apps use Shopify’s default payment methods. So, choose your preferred payment gateways and configure them to provide a seamless checkout experience.
- Choose a theme: Shopify has a variety of pre-made themes that you can easily customize per your store branding. Check our list of the best Shopify themes and select the one that best fits your brand. You can also explore ThemeForest for more options.
- Customize your store: After adding a theme, you can continue to customize the pages or create custom pages like About, Contact, Policy pages, and others.
Add this step, you don’t necessarily have to fill in all the product details, but add as many products as you can as you will have to select products while creating subscription plans at the later stage.
Step 4: Install a Subscription App
As mentioned earlier, Shopify doesn’t come with a built-in subscription management feature. But it has several subscription apps that you can use to create and manage subscription plans for your store.
Appstle Subscriptions is one of the best Shopify subscription apps that is easy to use and packed with powerful features to help you build and grow your subscription box business.
Although you can choose any subscription app for your store, for this guide, we are going to set up a Shopify subscription box business using Appstle Subscriptions.
To install the app, go to the Appstle Subscriptions page on the Shopify App Store and click the “Add app” button to install it in your store.
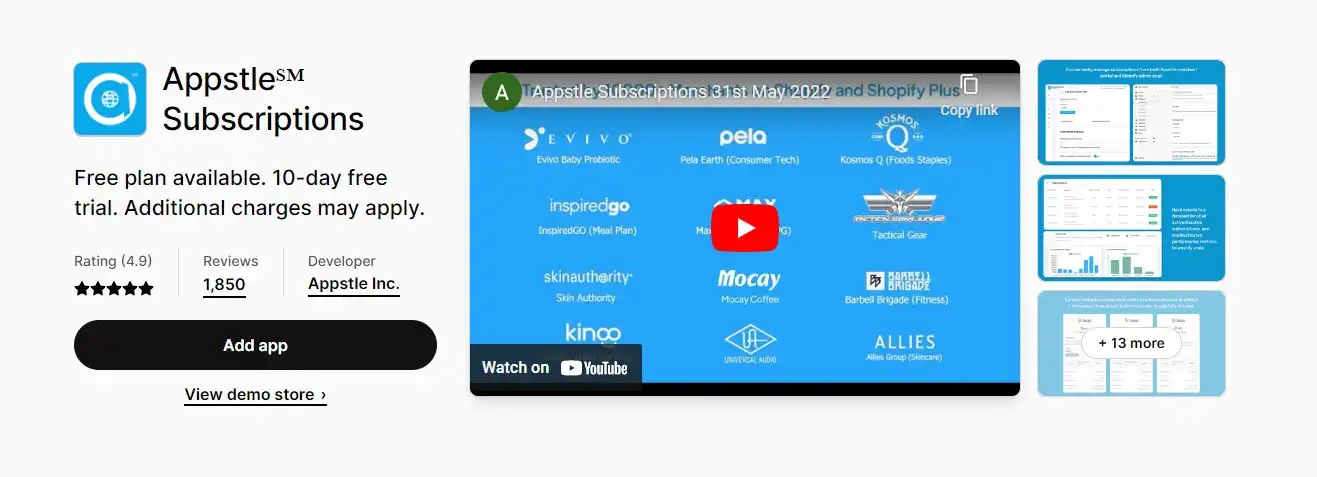
Once the app is installed, you will be asked to choose a pricing plan. It has a free plan that allows you to sell up to $500 worth of monthly subscriptions. So, to get started click the “Activate” button to select the free plan.
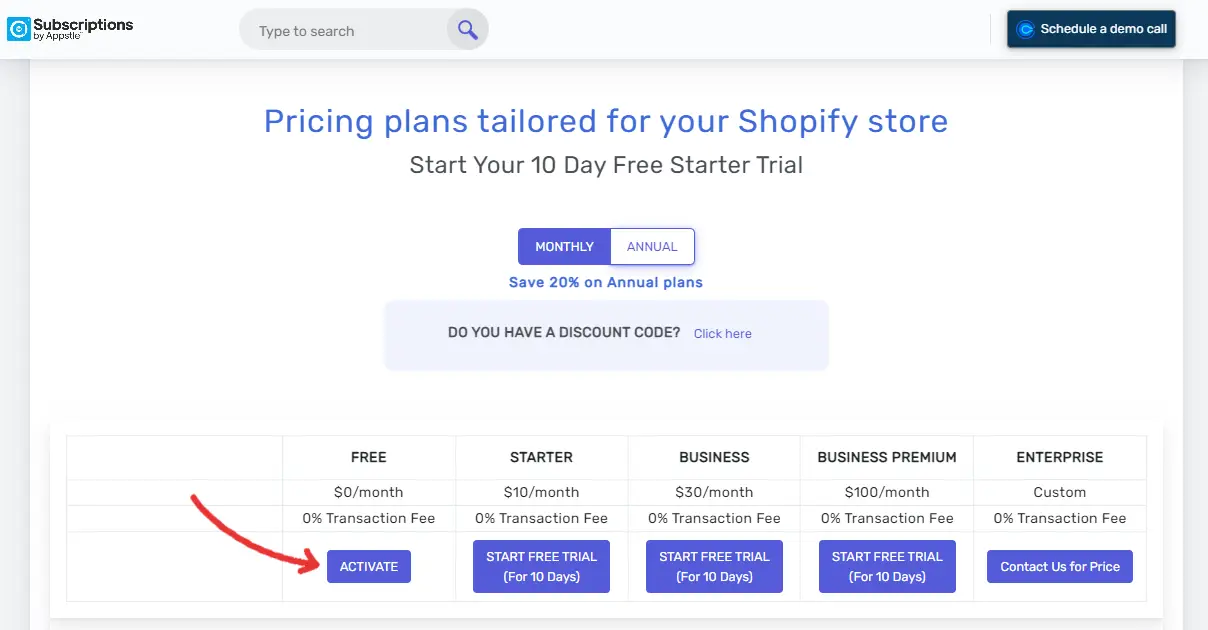
Next, you will be asked to enable the Appstle’s embedded block on the theme editor. Click the button, enable it, and the pop-up will disappear and you will be taken to the dashboard as shown below.
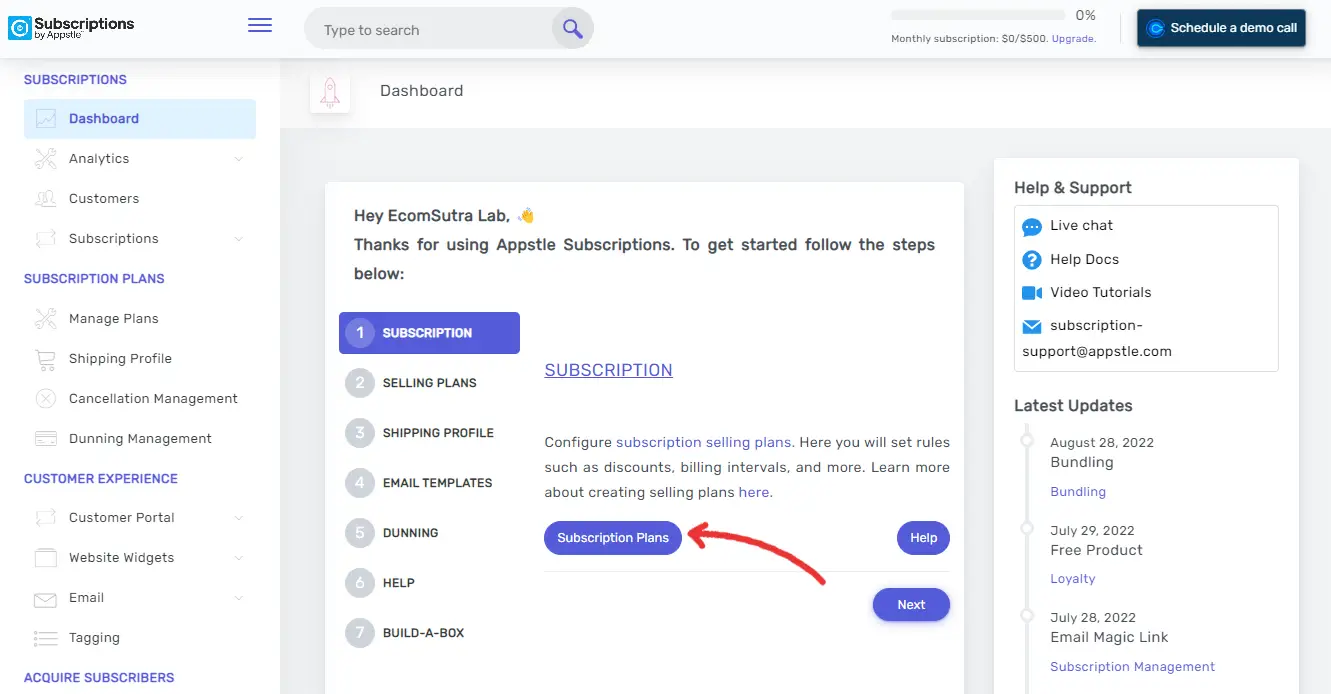
Now, the app is installed in your Shopify store and you can create subscription plans for your products.
Step 5: Create Subscription Plans
To create subscription plans, click the “Subscription Plan” button from the dashboard and you will be taken to the subscription management page, where you can see all your subscription plans.
Now, click the “Create First Subscription Plan” button to provide subscription information and set up the frequency.
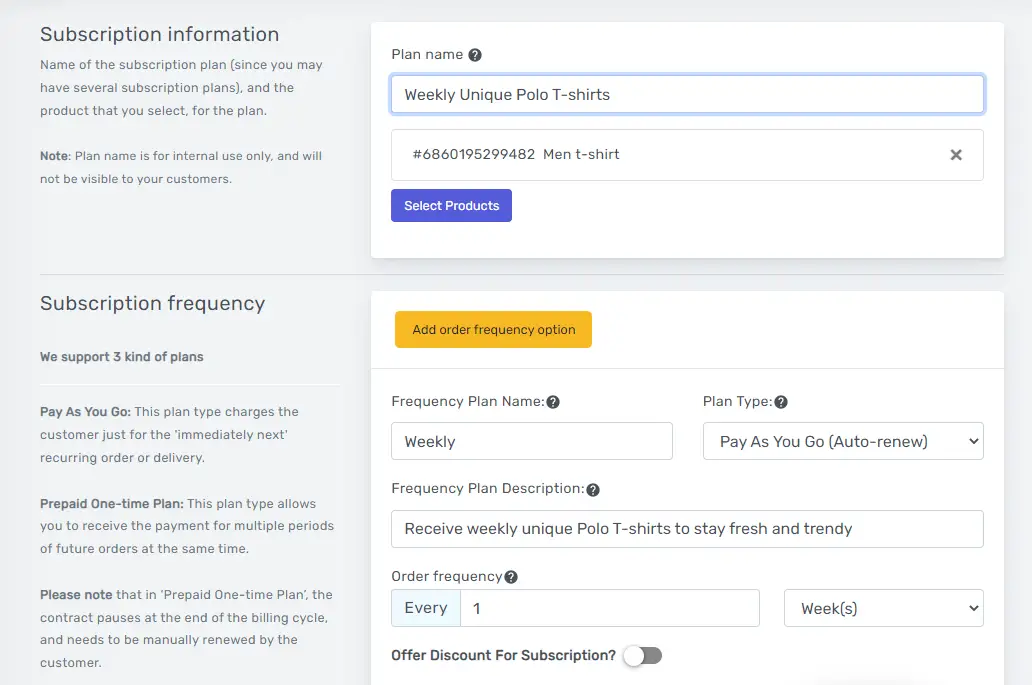
On this page, you will have to select products you want to include in the subscription plan, choose plan type, and set order frequency per your plan. If you want to offer multiple frequency options, Appstle Subscriptions allows you to do so by clicking the “Add more frequency option.”
After filling in all the details, click the “Save” button and the subscription option will be added to the product page of selected products.
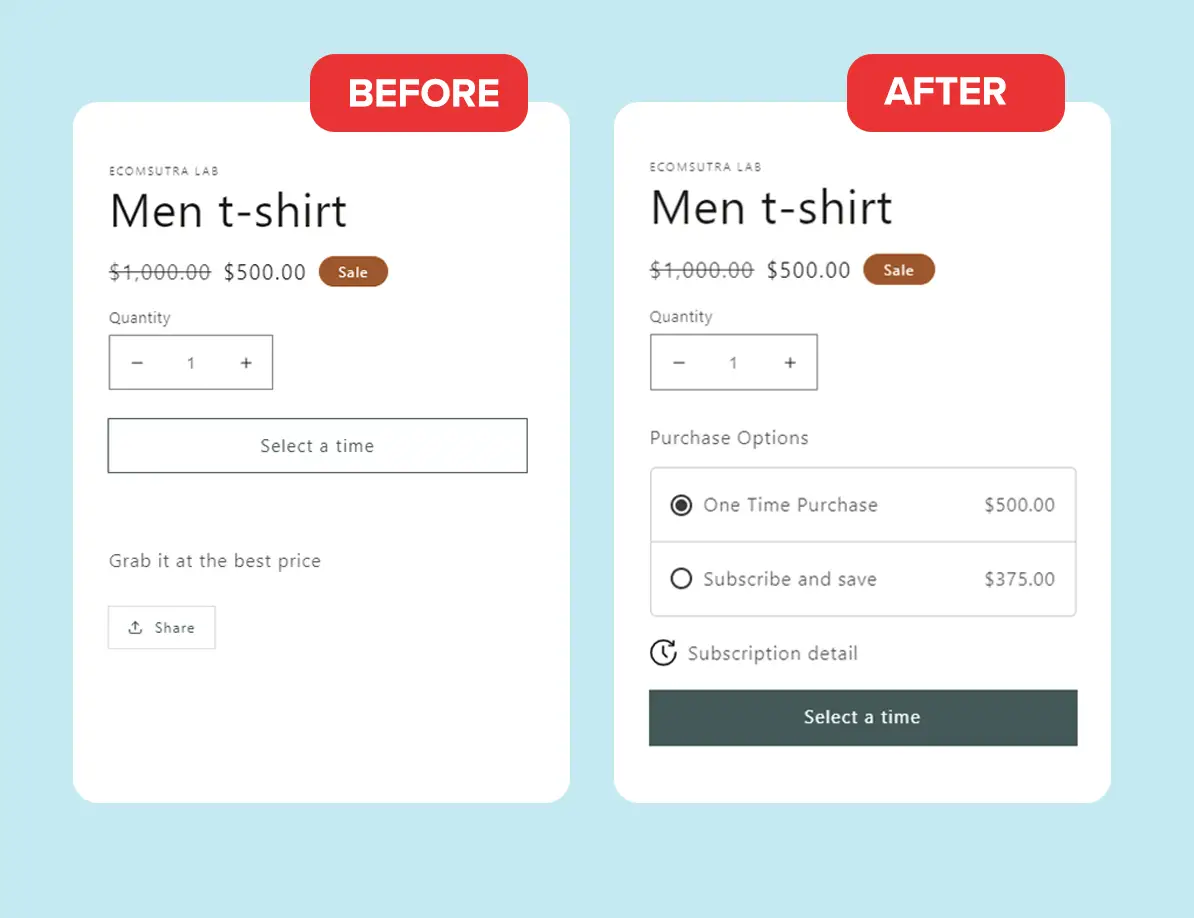
The design of the subscription widget may look different on your product pages as it depends on your store theme.
Step 6: Optimize the Product Page
You will notice that on the product page, customers will have options to either choose a subscription plan or a one-time purchase. If you want to offer both options, then you can skip this step.
But, if you want to offer only a subscription option, then go to the Product section in your dashboard, select one of the products, and scroll down to the “Purchase Options” section.
Here, you will see a checkbox option labeled, Only show this product with these purchase options. Enable it and save the changes.
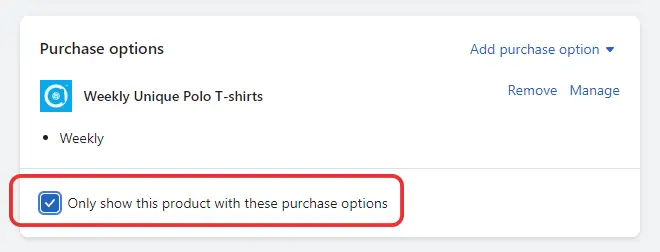
Now go to the product page, and you will see only the Subscription Option, as shown below ( look and feel may differ based on your store theme).
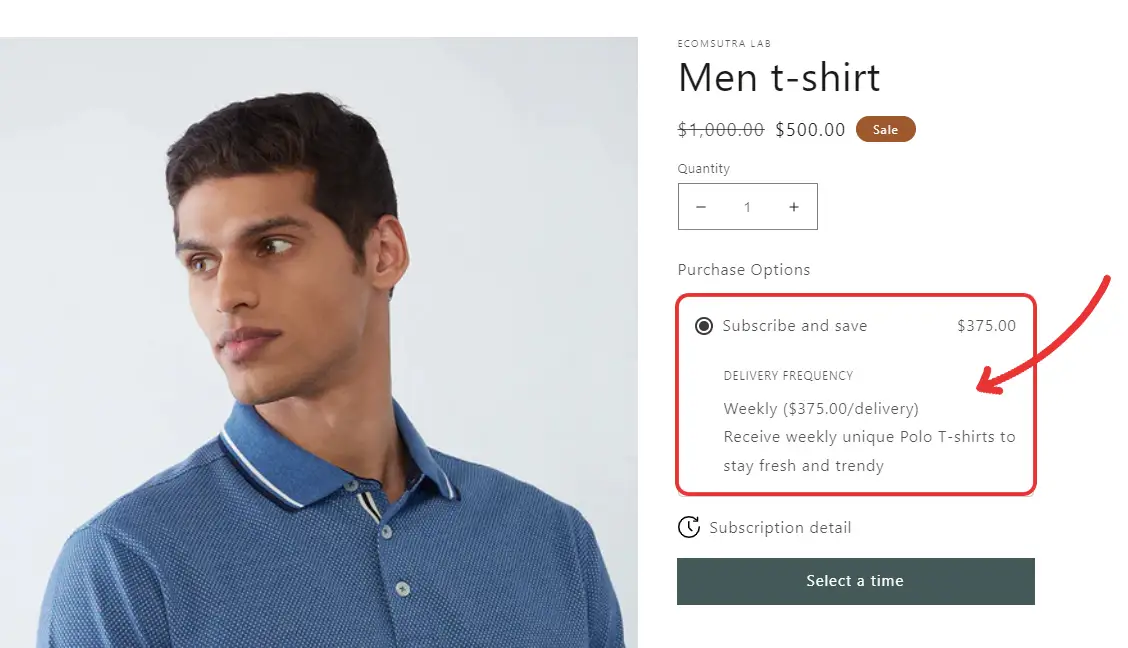
Note: Appstle Subscription offers various widget types and allows you to customize them to match your store branding. However, it is only available with paid plans.
Step 7: Launch your Shopify Subscription Box Store
Once you have set up subscriptions for your products, you need to figure out the shipping and order management for your store. You can refer to the following apps for help, but we won’t dive deep into them for this guide.
Now, cross-check your store pages, payment processing, and other essential setting. If all is good, it is time to launch your Shopify Subscription box business and start driving traffic to generate sales.
Ready to Sell Subscriptions on Shopify?
Ecommerce subscription business is a great way to generate recurring revenue, which makes it a highly lucrative business. That’s why you must have seen popular retail brands, software companies, and others pivoting to the subscription model.
Nowadays, you will see subscription services for almost everything. From clothes, medicines, and food to cars and bikes, almost every type of product is covered. But it doesn’t mean you can’t step into the market – you just have to figure out how you can enhance the experience for your customers.
In this guide, we walked you through every step of setting up a subscription box business on Shopify. Now, it is your turn to set up your store and start growing it.
Having said that, once you set up your subscription store, you can’t sit ideal and wait for customers to find you. Instead, you need to create awareness about your subscription offers among your target audience and drive them to your store.
So, make sure that you have an effective marketing strategy to create a buzz around your store and generate sales. If you are starting fresh on Shopify, you should also check our list of must-have Shopify apps for every store.


