In old times, setting up an online store was a very hefty and expensive task – you had to get a server, configure it, develop a website, and develop various tools to manage daily needs. The worst part is that you had to hire a team of developers to manage the entire ecosystem to ensure your website runs smoothly.
But today, anyone can start an eCommerce business at a minimal cost.
And the best way to start your eCommerce entrepreneurial journey is with a Shopify store. It is one of the best eCommerce platforms to start an online store. It is a subscription-based platform that allows you to create your online store & leverage its eCommerce solutions like displaying products online, tracking inventory, accepting payments, calculating shipping and tax rates, and much more.
In simple words, Shopify takes care of all the backend and technical aspects involved in setting up an online store & simplifies the whole process of creating, launching, and running an online store.
In this guide, I will walk you through every step of starting a Shopify store from scratch.
Ready? Let’s get started.
Step-by-Step Guide to Creating a Shopify Store
If you have decided to start your Shopify store, now is the time to get serious and start following each step carefully.
If you are ready, let’s get started.
Step 1: Create your Shopify account
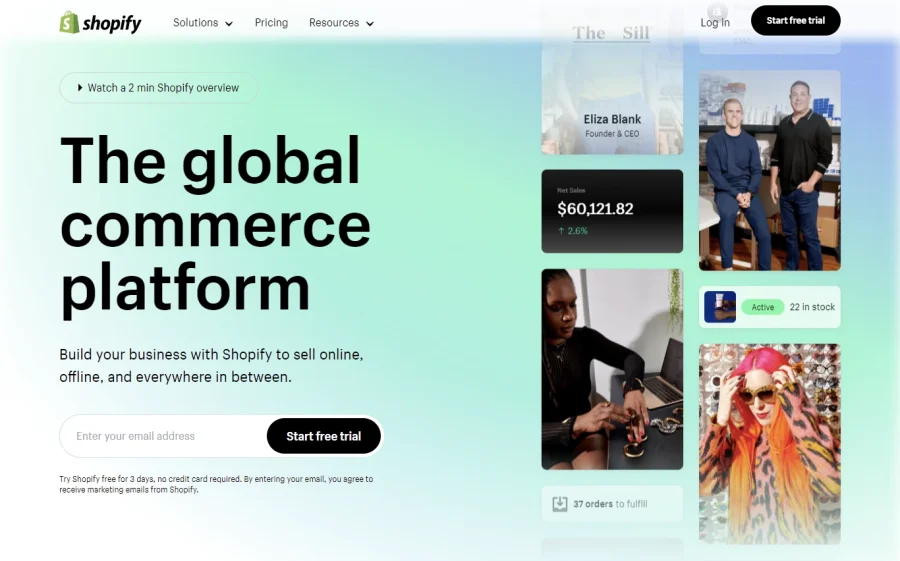
Shopify offers a 3-day free trial without requiring credit card details. After that, you can continue using the store at just $1/month for 3 months.
So, to get started go to Shopify.com, enter your email address, and click on the “Start free trial” button.
Next, fill out the form with your email address, password, and store name. Your store name needs to be unique, i.e., there must not be another store with the same name on the Shopify platform.
Once you’ve entered the available store name, click the “Create your store” button.
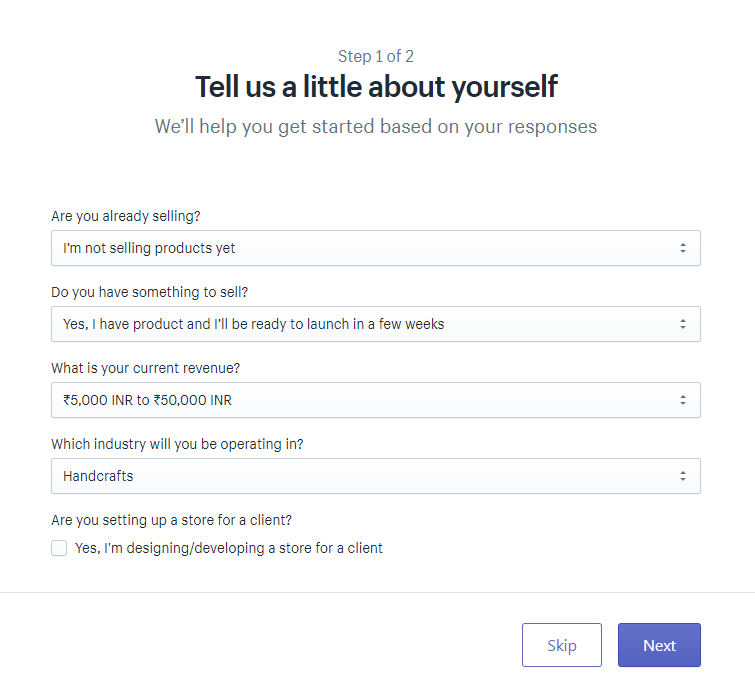
Now, Shopify will ask for information about you & your business. Fill up the fields respectively & click Next. You can skip this step as well.
Afterward, add business details like address and name and click the “Enter my Store” button.

Congratulations! You are now inside your Shopify admin panel.
Step 2: Choose a theme for your store
Once you’re inside your store admin panel, it is time to beautify your store.
To get started, you need to choose a theme for your store. Shopify has its own official theme store where you can find both free and premium themes.
Every theme comes with its limitations in customization. That’s why while selecting the theme, ensure you go through the functionality details.
1. Find a theme
To find a theme for your store, click on “Online Store” in the left sidebar. Then, click on “Themes”
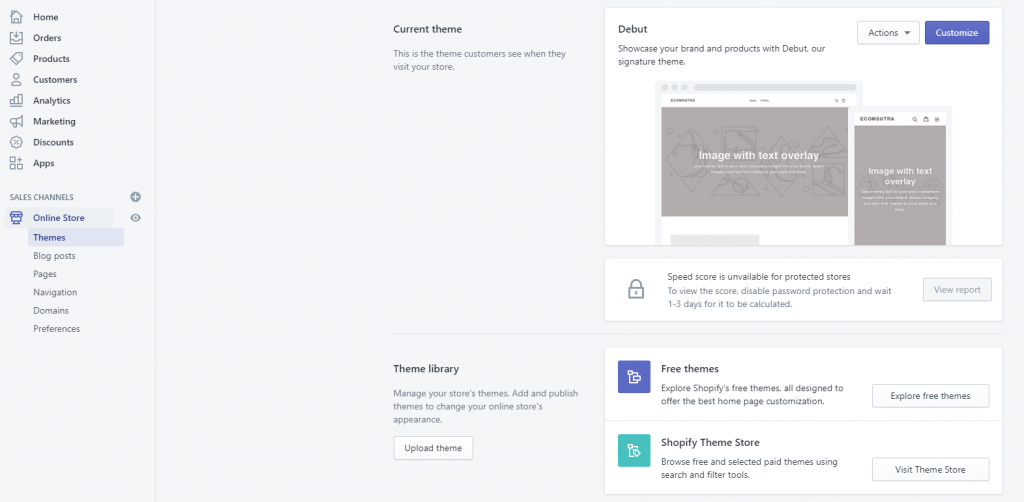
Here you can also upload a theme you purchased from theme marketplaces like ThemeForest. In fact, we have compiled some of our favorite Shopify themes available in the market, check out –
Or, you can explore the Shopify theme store, where you’ll find 70+ themes in various categories with different functionalities.
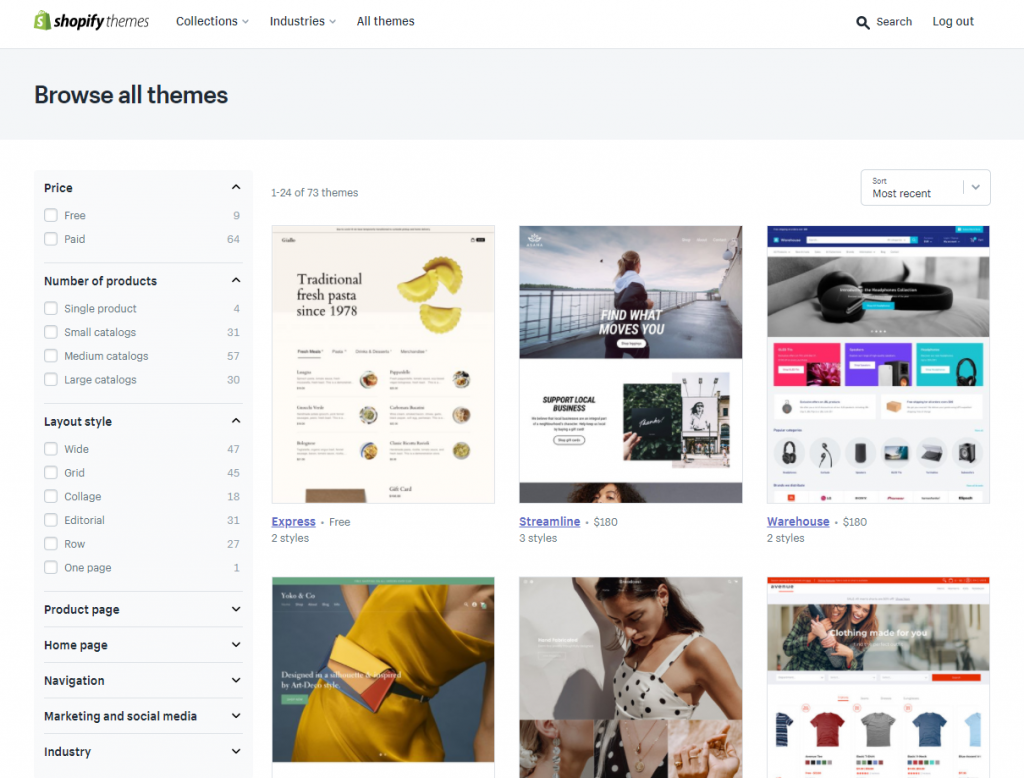
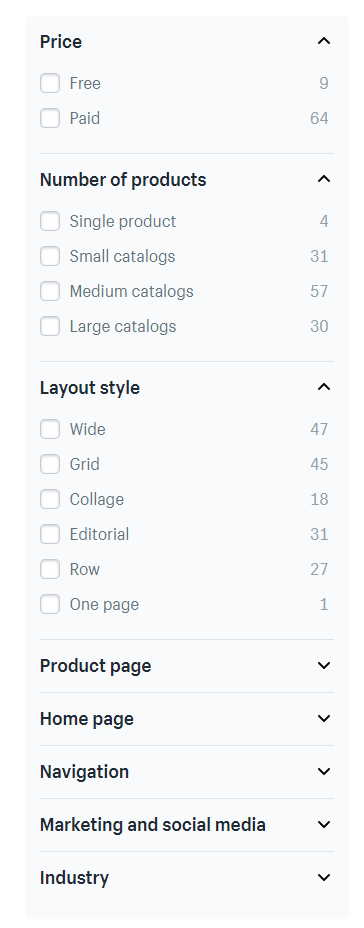
You can filter themes based on various attributes like the number of products, layout style, marketing features, industry, etc. You can also sort themes by price, popularity & most recent.
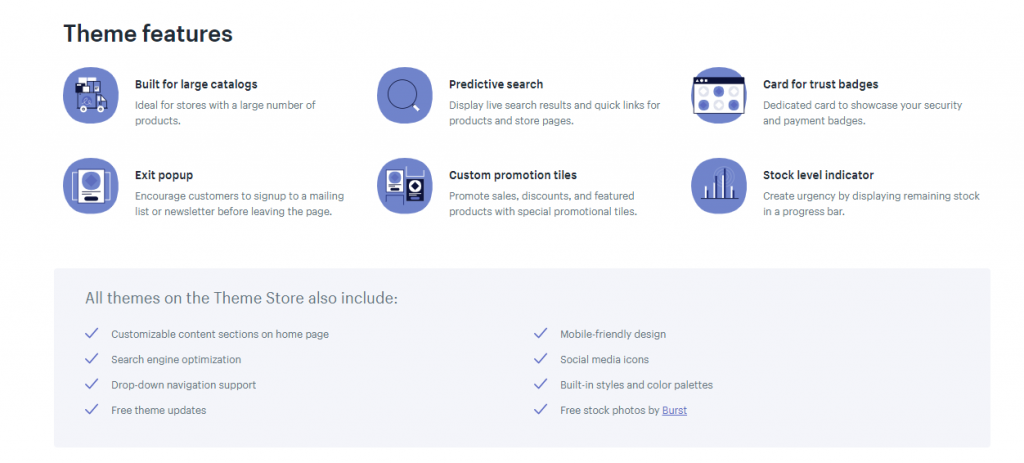
2. Analyze the features of themes
While going through all the themes, find out more about the features of the themes you like – like mobile responsiveness, SEO, pop-ups, etc.
To find this information, click on the theme you liked, and you’ll be directed to the page where you’ll be given more information about the theme, including features, reviews & the stores that use that specific theme.
You can scroll down to view more themes with similar features by the same designer.
3. Preview the theme
Click the “View Demo” button to see how the theme feels. There you can preview the theme in mobile and desktop view. Also, try different styles of that theme (if available).
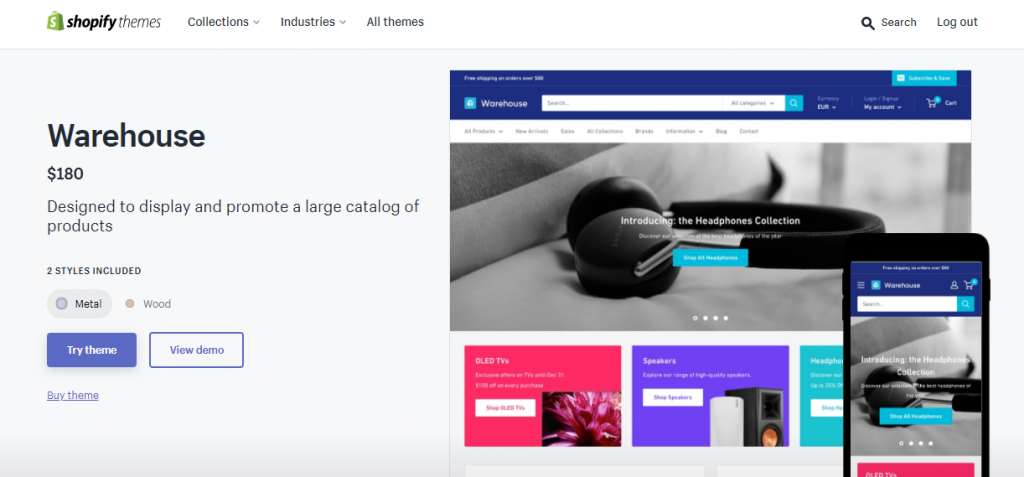
4. Try the theme & buy
If you like the theme, click on the “Try theme” button in the top right corner of the preview page. The theme will be added to your store.
Now, Customize the themes and see if it is what you want for your store.
Once you find the perfect theme for your store, buy it!
Step 3: Customize the theme of your store
Once you’ve selected a theme, it is time to change the look and feel of your store. Almost every theme from the Shopify theme store allows you to make changes that define your brand & keep it unique from tons of other stores.
On the left sidebar of the Shopify admin panel, go to “Themes” and click on the “Customize” button beside the selected theme.

You will be taken to the theme editor page, where you can customize the theme. Some of the most common customizations will include:
- Color schemes
- Featured Collections
- Header
- Logo
- Typography
- Footer

These customizations depend on the functionality available with your theme.
You can also make a lot of adjustments by accessing the CSS and HTML aspects of your theme. If you don’t have coding knowledge, you can always hire an expert from the Shopify experts page to make the necessary changes.
Step 4: Add products & content
Now, your store’s look & feel is complete. It is time to showcase your products.
On the left sidebar of your Shopify admin panel, select “Products” and click on the “Add product” button to add details about your products, including images, names, descriptions, etc.
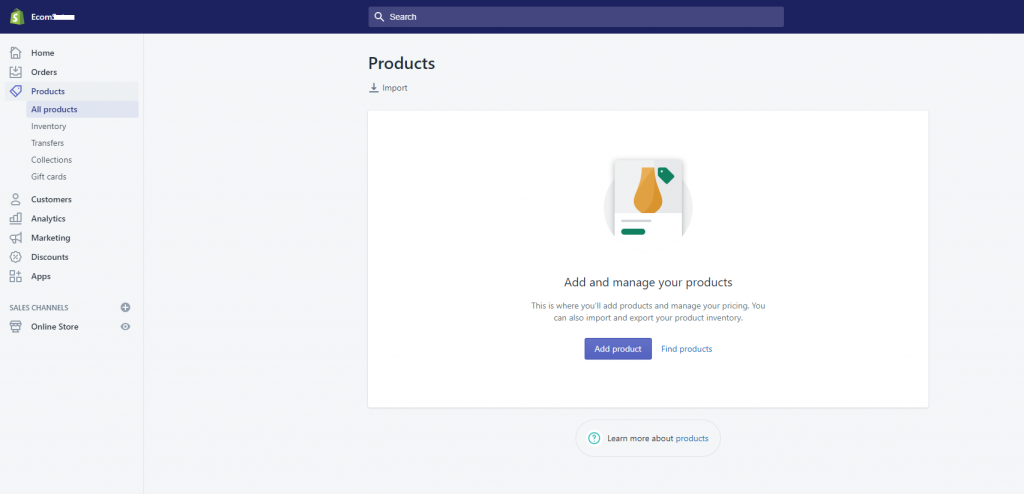
Remember, images are crucial for your customers when it comes to online purchasing because they can’t touch the products & the only way to convince them to buy is through attractive product images.
Step 5: Add necessary pages
Go to “Online Store” and select “Pages,” which will take you to a dashboard where you can create & manage pages.
Now click the “Add page” button. Next, add the page title and content and edit the SEO of the page.
Remember that these pages on your website will help your customers to know more about the store, the team behind it & the legalities of how you handle their data, the return policy, etc.
Some of the necessary pages every online store should have are: –
- About
- Content
- Delivery & return policy (legal)
- Privacy policy (legal)
To add legal pages, go to “Settings” from the left corner of your Shopify admin dashboard. Here you’ll find a predefined section for each page.

You can also create these pages using Shopify templates, Click on the “Create from template” button below the text field, and a predefined template content will be added.
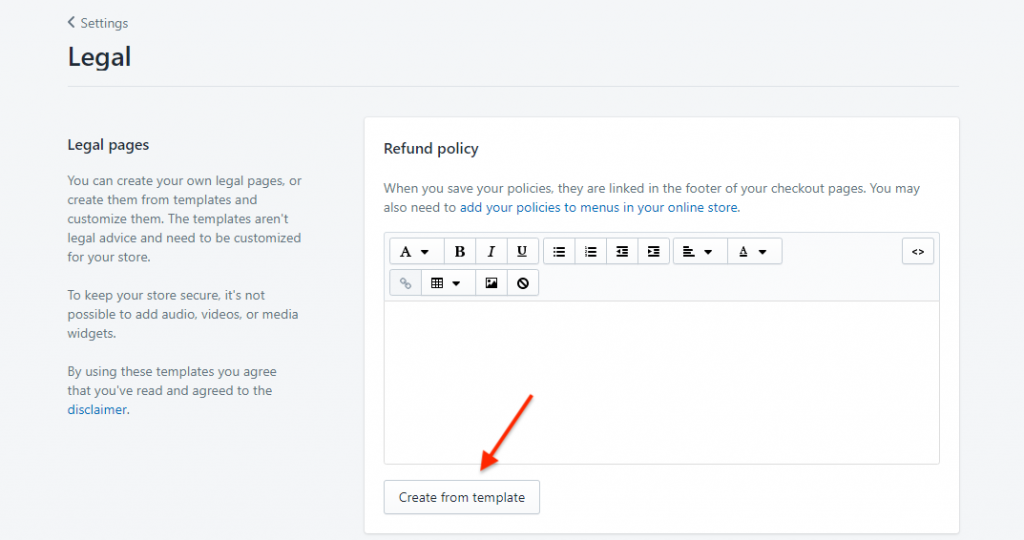
Now, edit the content as per your policy & click “Save” to publish the pages.
Step 6: Enable payment & checkout process
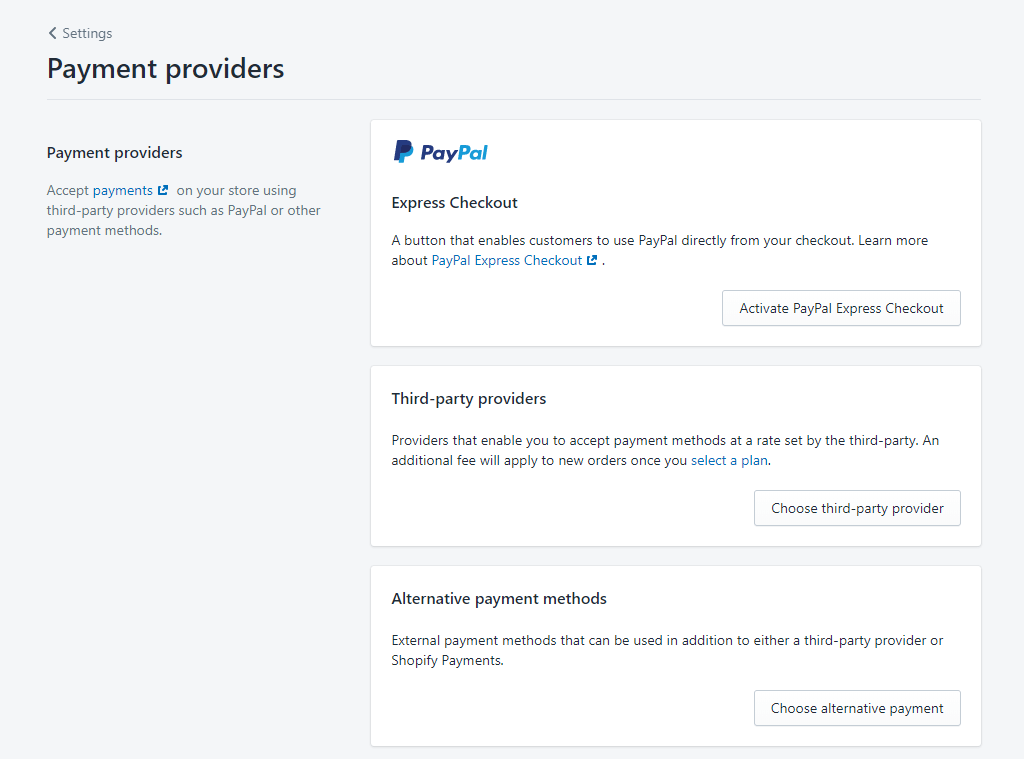
To enable payment methods on your website, you need to set up a payment gateway that allows you to take payments from your customers.
Shopify offers its own payment gateway, “Shopify Payments,” for everyone in supported countries or locations of the business.
If the country where your business operates isn’t supported by Shopify Payments, you can choose from other payment gateways, including PayPal.
For Shopify Payments alternatives, you should check our guide on the best payment gateways for Shopify stores. While choosing a payment gateway, you need to look at the following features: –
- Transactions Fees: When using a payment gateway, most of them keep a small percentage or flat fee (or both) per transaction. So, compare all the available payment gateways in your region & choose the most suitable one for your business.
- Card types: You need to ensure that your payment gateway accepts your customers’ most common card types for seamless transactions. While most gateways accept VISA & MASTERCARD, you must ensure that the latest digital wallets like Paytm, Apple Pay, and Google Pay are supported.
Once the payment gateway is configured, go to “Settings” & select “Checkout” to customize the checkout process as per your business needs & click “Save” to complete it.
Step 7: Add your business details
Before setting your story live, you must ensure that all the legal & other marketing and business information is added to the store.
Go to settings and take a look at each of the options.
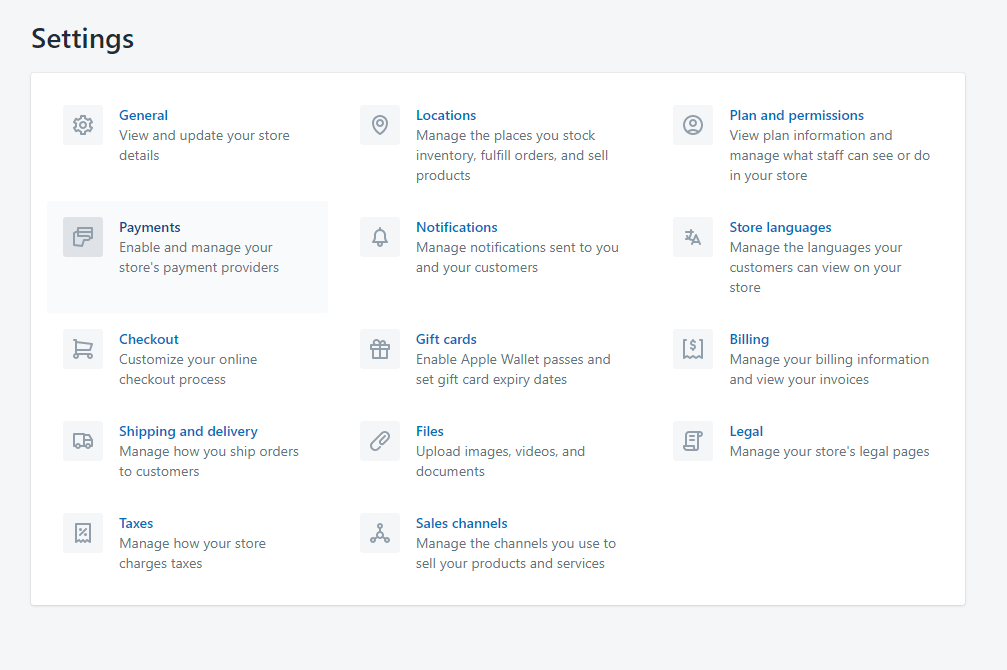
- General: In this section, you must provide details like name, email, industry, address, currency, and other standards and formats for your store.
- Locations: If your business operates from multiple locations, add all the locations.
- Notifications: In this section, you’ll find different types of notifications for customers & staff at different stages of order processing. You can click on each notification & customize it as per your needs.
- Shipping & Delivery: This section is crucial for businesses selling physical products. Here you need to choose where you can ship & how much you charge for shipping. You can also integrate with external shipping carriers & fulfillment services available in your region.
- Taxes: In this section, you need to set up how your store calculates taxes & charges from customers. If you don’t understand the taxation process, it is highly recommended to consult a tax expert before setting up this section.
Step 8: Add your Domain for your website
If you haven’t bought a domain for your store, you can purchase it right from Shopify. Go to “Online Store” in the sidebar, select the domain name, and click on the “Buy Domain” button.
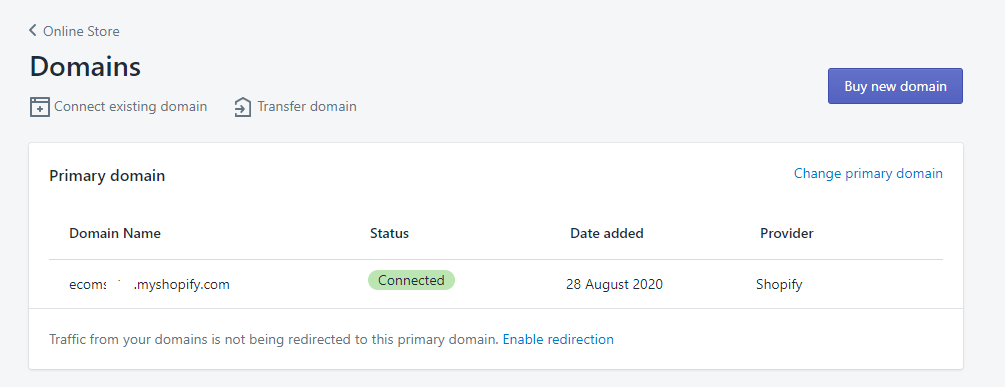
Enter your store name in the search bar & you’ll see a list of all the available domains for that name. If you find the desirable domain, click buy to purchase it, and the domain will automatically connect to your store.
However, if you have already bought a domain from other domain registrars, you can connect it with your store by clicking “Connect existing domain.” Next, enter your domain & click Next.
For instance, if you have bought the domain from GoDaddy, you can connect the domain easily by clicking on “Connect automatically.”
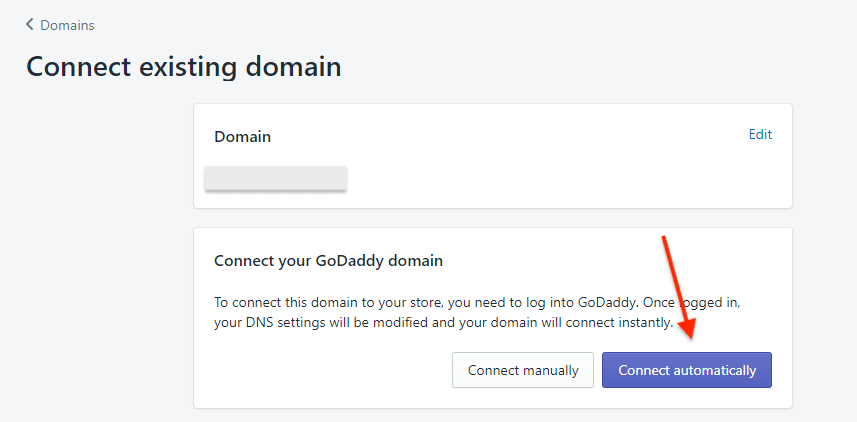
For other domain registrars, you may need to update the DNS manually to connect it to the Shopify server. I highly recommend buying domains from other registrars as it will be easier to migrate to other eCommerce platforms if you ever want to.
Step 9: Install essential Shopify Apps
Finally, once you have added your domain, it’s time to install the essential Shopify Apps you will need to operate and manage your store smoothly.
Some of the types of apps that you may need to add additional functionalities and features to your store are as follows –
- Shopify Apps for SEO
- Shopify Apps for Marketing
- Shopify Apps to Boost Sales
- Shopify Apps for order management
- Shopify Apps for Customer Service
There are tons of apps available in the Shopify App Store for you to choose from. However, to save you time, you should check our list of must-have Shopify apps to find the best apps you’ll need to start your online store.
Step 10: Get your Shopify store live
Once everything is configured, take a moment, ask for feedback from your fellow mates, and follow our Shopify launch checklist to make sure the store is ready to go live.
Once you are ready to launch the store for your customers, pick a Shopify plan for your store to get it live.
Don’t worry, your trial period will continue for the remaining days and if you find Shopify not the right fit (which won’t happen) for you, you can cancel the plan before the trial period ends. No charges applied!
If you are a beginner in the eCommerce business, we highly recommend you pick the “Shopify Basic plan” & try your hand for a couple of months & then upgrade to higher plans as your business grows. For more details, you should read our detailed guide on Shopify pricing and transaction fees.
Ready to Start your Shopify Store?
If you have been following the above steps, then by now, you should have launched your Shopify store, or it is probably ready to go live.
However, the journey doesn’t stop here. In fact, the hustle of building an eCommerce business and growing it starts from here onwards.
Once your Shopify store is live, you need to market the store among your target consumers on various channels, including social media, email marketing, and search engines.
So, to help you with it, here are a few hand-picked articles that you might want to read next –
- Complete Shopify SEO guide w/checklist
- How to create high-converting product pages for more sales
- How to grow an email list for eCommerce business
Shopify Store FAQs
Let’s look at some of the common questions that we have been asked repeatedly by our clients and readers.
-
Is creating a store on Shopify free?
No, Shopify doesn’t offer a free plan. However, you can start a free trial and enjoy 3 months for just $1/month on any plan. After that, if you wish to continue, the price of creating a Shopify store varies based on your chosen plan starting at $29/month.
Apart from the plan, another expense you can’t escape is purchasing a domain for your store, which can cost around $8-$10 annually on some of the best domain registrars like GoDaddy, Namecheap, etc.
-
How much does it cost to set up a Shopify store?
You can start a Shopify 3-day free trial and enjoy the selected plan at just $1/month for 3 months. After that, you can continue using the store by paying the plan price. Simply put, it will cost only $1/month to use a Shopify store for 3 months. (Sign up now)
-
How much transaction fee does Shopify charge?
When you use Shopify payments to process payments on your store, you will not be charged anything for transaction fees. Credit card fees will still be charged for each sale, starting at 2.9% + 30¢, which varies for each plan.
However, Shopify Payments is not available in every country. For such countries, it charges a fee per online transaction. The transaction fee is 2% for the basic plan, 1% for the Shopify plan, and 0.5% for the Advanced plan.
-
What can I sell on Shopify?
Shopify enables you to sell anything – from physical and digital products to membership plans. You can also sell print-on-demand and dropshipping products.
Some of the popular products people are selling on Shopify are –
– Clothes & Apparel
– Food & beverages
– Health & Beauty Products
– Pet Accessories
– Sports & Fitness Products
– Home & Garden Products
– Office Equipmentand more… Check our list of trending products to sell on Shopify for more ideas.
-
Can I sell services on Shopify?
Yes, you can easily sell services from your Shopify store. Although Shopify doesn’t offer built-in features to take appointments to book services, there are several 3rd-party apps that you can consider using.
If you are interested, you can follow our guide on selling services on Shopify for detailed guidance.
-
Can I sell digital products on Shopify?
Yes, you can sell digital products on Shopify. By using Shopify digital downloads apps, you can transform your regular products into digital downloads and sell products like eBooks, graphics, videos, software, and more.
For complete guidance, you can follow our guide on selling digital products on Shopify.
-
Do I need a license to sell on Shopify?
No, Shopify doesn’t ask for any license to sell products on the platform. However, certain kinds of products for which you may need a license from your government to sell. So, consult your lawyers to know if you need a license to sell your product in a country/city/state.
-
Do you have to pay taxes on Shopify?
No, you don’t have to pay taxes on Shopify, as it doesn’t file or remit sales taxes for you. However, Shopify provides you with detailed reports on sales that you can use to calculate your taxes and file them on time. Or, you can use Shopify sales tax apps to calculate your tax and filing.
-
Does Shopify do shipping?
Yes, Shopify offers Shipping services that can help you print shipping labels, display calculated shipping rates, and get discounted rates from popular shipping carrier service providers.
However, the service is limited to a few countries, which include the USA, UK, Canada, France, Spain, and others. You can check the complete list of eligible fulfillment locations here.
-
Can I sell print-on-demand products on Shopify?
Yes, you can sell print-on-demand products on Shopify. In fact, it is the best platform for that. If you need help, you can follow our tutorial on starting a print-on-demand business on Shopify.
Do you have more questions? Feel free to tweet us @ecomsutra. We will be happy to help you 🙂
We hope this guide helped you set up your Shopify store and gives you an overview of how to grow it successfully. if you have any questions regarding this,